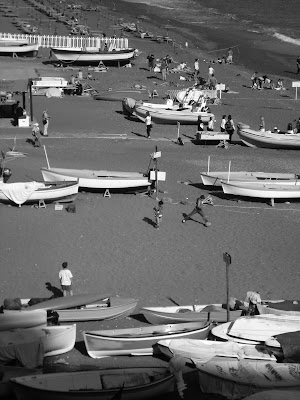
1.) Start with a color image...either in RGB mode or CMYK. Here's my original:
 2. Highlight the entire image (command-A), and copy it (command-C).
 3. Change the mode to grayscale. My image then looked like this:

4. Then, change the mode back to RGB or CMYK, and paste your original image (command-V) over the black and white layer. You will now have two layers.
5. Click on the black and white layer (which will now be on the bottom layer), select it all (command-A), and cut it (command-X).
6. Click on the color layer, and then paste (command-V) the black and white version over it. This will create a third layer. (Your first layer will be blank, and you don't really need it anymore)
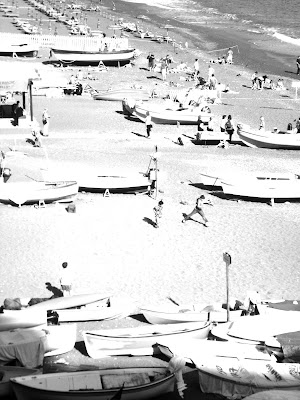
7. When you are in your black and white layer, go to "Image/Adjustments", and up the brightness and contrast to achieve the desired effect. Here's what mine looked like:
 8. When you're on your black and white layer, change the opacity of that layer in the layer palette so you can see the color layer behind it. Just erase the areas you want the color to show through.
 9. When you're done, change the opacity back to 100%. I tend to work by frequently changing the opacity back and forth so I can see what I want to erase, and then to see what it looks like. Mine then looked like this:


4 comments:
That is great Heather! Love it.
Very cool, Heather. I love it! xo
Thanks Heather for the tips. I am sure I can use it my forthcoming projects.
Wow, this looks amazing, imagine what we could all do with this program. Thanks for sharing. Thanks also for dropping by Beach Vintage and leaving a comment.
Post a Comment